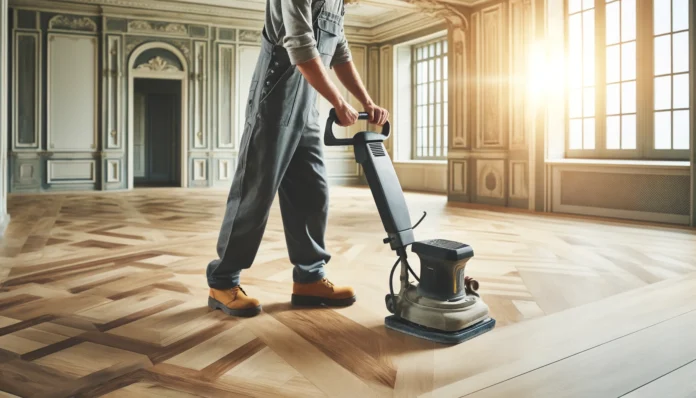
Hardwood floors are a timeless and elegant addition to any home, offering warmth, durability, and a classic aesthetic. However, over time, even the most well-maintained hardwood floors can show signs of wear and tear. Refinishing your hardwood floors can breathe new life into your home, enhancing its beauty, value, and even improving indoor air quality.
In this comprehensive guide, we’ll walk you through the entire process of sanding and refinishing hardwood floors, whether you’re a DIY enthusiast or considering hiring a professional. We’ll cover everything from assessing your floors to the final finishing touches, ensuring you achieve a stunning and long-lasting result.
Is Refinishing Your Hardwood Floors Right for You?
Before diving into the refinishing process, it’s crucial to determine if your hardwood floors actually need it. Look for these telltale signs:
- Deep scratches and gouges: Minor surface scratches can often be buffed out, but deeper ones require sanding.
- Water damage or staining: Discoloration, warping, or cupping indicate water damage, often necessitating refinishing.
- Faded finish: If your floors look dull and lifeless, a fresh coat of finish can work wonders.
- Significant wear and tear: High-traffic areas may experience excessive wear, requiring sanding and refinishing.
Types of Hardwood Floors
Understanding your type of hardwood floor is essential for choosing the right refinishing approach:
- Solid hardwood: This type can be sanded and refinished multiple times.
- Engineered wood: With a thinner veneer of hardwood, engineered wood can be refinished, but only a limited number of times.
- Parquet: This intricate pattern requires careful sanding and refinishing techniques.
Tools and Materials for Hardwood Floor Refinishing
Gathering the right tools and materials is crucial for a successful refinishing project:
- Sanding equipment: Drum sander, orbital sander, edge sander, pole sander, detail sander
- Safety gear: Respirator mask, ear protection, safety glasses
- Sandpaper: Coarse to fine grit sandpaper (e.g., 36, 60, 80, 100, 120)
- Wood stain (optional): Water-based, oil-based, or gel stain
- Floor finish: Polyurethane (oil-based or water-based)
- Other supplies: Drop cloths, painter’s tape, wood filler, cleaning supplies
Preparing the Room and Floors for Refinishing
Proper preparation is key to achieving a smooth and even finish:
- Clear the room: Remove all furniture, rugs, and belongings.
- Remove obstacles: Take off baseboards, shoe molding, and door thresholds.
- Clean thoroughly: Vacuum and sweep the floors to remove dust and debris.
- Repair damage: Fill any cracks, holes, or gaps with wood filler.
Sanding Hardwood Floors: Step-by-Step Guide
Sanding is the most labor-intensive part of the process, but it’s essential for removing the old finish and creating a smooth surface for the new one:
- Start with coarse-grit sandpaper: Begin with 36-grit sandpaper to remove the old finish and level the floor.
- Gradually move to finer grits: Progress through 60, 80, and 100-grit sandpaper, each time smoothing the surface further.
- Finish with fine-grit sandpaper: Use 120-grit sandpaper for a final, ultra-smooth finish.
- Sand edges and corners: Use an edge sander or detail sander for hard-to-reach areas.
Staining Hardwood Floors (Optional)
If you want to change the color of your floors, staining is an option:
- Choose your stain: Select a color that complements your décor and personal style.
- Test the stain: Apply the stain to a hidden area to ensure you like the color.
- Apply the stain: Follow the manufacturer’s instructions for application and drying time.
Applying the Protective Finish
The final step is applying a protective finish to seal and protect your newly refinished floors:
- Choose your finish: Polyurethane is a popular choice for its durability and resistance to scratches and spills.
- Apply multiple coats: Apply at least two to three coats, allowing each coat to dry completely before applying the next.
Final Touches and Hardwood Floor Maintenance
Once the finish has dried, reinstall the baseboards, shoe molding, and door thresholds. Clean up the work area and enjoy your beautifully refinished hardwood floors!
To keep your floors looking their best, follow these maintenance tips:
- Sweep or vacuum regularly to remove dust and dirt.
- Clean up spills immediately.
- Use furniture pads to prevent scratches.
- Avoid walking on the floors with high heels or heavy shoes.
Hiring a Professional Floor Refinishing Service
If you’re not comfortable tackling the refinishing project yourself, or if your floors have extensive damage, hiring a professional is a wise choice. They have the expertise, experience, and specialized equipment to ensure a flawless result.
When choosing a professional, be sure to:
- Get multiple quotes.
- Check references and reviews.
- Ask about their experience and insurance.
Conclusion
Refinishing your hardwood floors is a rewarding project that can transform your home. Whether you choose to DIY or hire a professional, the results will be stunning and long-lasting. By following this comprehensive guide, you’ll be well on your way to enjoying beautiful, revitalized hardwood floors for years to come.


