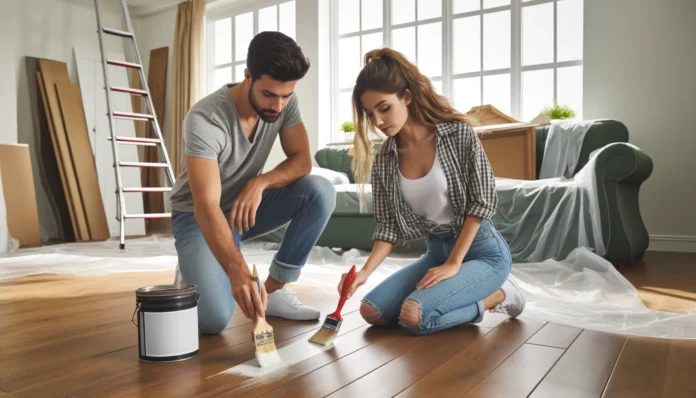
Hardwood floors are a beautiful and valuable addition to any home, but they require proper care to maintain their luster and longevity. Sealing your hardwood floors is a crucial step in protecting them from daily wear and tear, spills, stains, and moisture damage. This comprehensive guide will walk you through the process of sealing your hardwood floors like a pro, even if you’re a DIY beginner.
Why Seal Hardwood Floors?
Before we dive into the how-to, let’s explore why sealing your hardwood floors is so important:
- Protection: Sealants create a protective barrier against scratches, scuffs, spills, and stains, keeping your floors looking new for longer.
- Enhanced Appearance: Sealants can enhance the natural beauty of the wood grain, adding depth and richness to the color.
- Increased Longevity: By protecting your floors from moisture and wear, sealants can significantly extend their lifespan, saving you money in the long run.
- Added Value: Well-maintained hardwood floors are a major selling point for potential homebuyers, increasing the value of your property.
Types of Hardwood Floor Sealants
There are two main categories of hardwood floor sealants:
- Surface Finishes: These sealants create a protective layer on top of the wood. Popular options include:
- Polyurethane: Available in water-based and oil-based varieties, polyurethane is known for its durability and resistance to wear.
- Acrylic: This water-based sealant dries quickly and has low VOCs, making it a good choice for those with environmental concerns.
- Moisture-Cure Urethane: This durable sealant is resistant to moisture and chemicals, making it ideal for high-traffic areas.
- Penetrating Finishes: These sealants penetrate into the wood fibers, hardening and protecting them from within. Common choices include:
- Tung Oil: This natural oil provides a warm, rich finish and is relatively easy to apply.
- Linseed Oil: Another natural oil, linseed oil offers a durable finish but can take longer to dry.
- Hard Wax Oil: This blend of waxes and oils provides a beautiful, low-sheen finish and is known for its water resistance.
Choosing the Right Sealant
Selecting the right sealant depends on several factors:
- Durability: Consider the level of foot traffic your floors receive. High-traffic areas may require a more durable sealant like polyurethane.
- Sheen Level: Choose a sheen level that matches your aesthetic preferences. Options range from high-gloss to matte.
- Drying Time: If you need to use the room quickly, choose a fast-drying sealant like water-based polyurethane.
- VOC Content: If you’re concerned about indoor air quality, opt for a low-VOC or zero-VOC sealant.
- Ease of Application: Some sealants are easier to apply than others. If you’re a DIY beginner, choose a user-friendly option.
- Cost: Sealants vary in price. Determine your budget before making a decision.
Preparing Your Hardwood Floors for Sealing
Proper preparation is key to a successful sealing project:
- Gather Your Supplies: You’ll need sandpaper, a sanding block or pole sander, a vacuum cleaner, a mop or tack cloth, wood floor cleaner, painter’s tape, drop cloths, a sealant applicator, sealant, and personal protective equipment.
- Deep Cleaning: Thoroughly clean your floors with a wood floor cleaner to remove all dirt, dust, grease, and grime.
- Repairing Damage: Fill in any gaps, cracks, or scratches with wood filler. Let it dry completely before proceeding.
- Sanding: If your floors are significantly worn or have an existing finish, you may need to sand them to create a smooth surface for the sealant to adhere to. Start with coarse-grit sandpaper and gradually move to finer grits.
Sealing Your Hardwood Floors Step-by-Step
Now that your floors are prepped, it’s time to apply the sealant:
- Applying the First Coat: Start in a corner of the room and work your way out, applying a thin, even coat of sealant in the direction of the wood grain. Avoid puddling or leaving excess sealant.
- Drying Time: Allow the first coat to dry completely according to the manufacturer’s instructions. This can take anywhere from a few hours to a full day.
- Sanding Between Coats (Optional): Lightly sand the floor with fine-grit sandpaper to remove any imperfections or raised grain. This step is optional but can help ensure a smooth final finish.
- Applying Additional Coats: Apply 2-3 coats of sealant, allowing each coat to dry completely before applying the next. Lightly sand between coats, if desired.
- Final Curing Time: Allow the final coat to cure completely (usually 24-72 hours) before walking on the floor or replacing furniture.
Maintaining Your Beautifully Sealed Hardwood Floors
To keep your hardwood floors looking their best, follow these maintenance tips:
- Regular Cleaning: Sweep or vacuum regularly to remove dust and debris.
- Damp Mopping: Occasionally damp mop with a pH-neutral cleaner specifically designed for hardwood floors.
- Preventative Measures: Use furniture pads, area rugs, and doormats to protect your floors from scratches and wear.
- Address Spills Immediately: Wipe up spills promptly to prevent staining.
- Recoat as Needed: Depending on the type of sealant and the amount of traffic your floors receive, you may need to recoat them every few years to maintain their protection and appearance.
By following these steps and taking proper care of your hardwood floors, you can enjoy their beauty and warmth for many years to come.


